How to Plan a Friendsgiving Menu for a Small Kitchen
Cook a complete Friendsgiving in a small kitchen by assigning oven time, making dishes ahead, sharing equipment, and serving in smart waves.
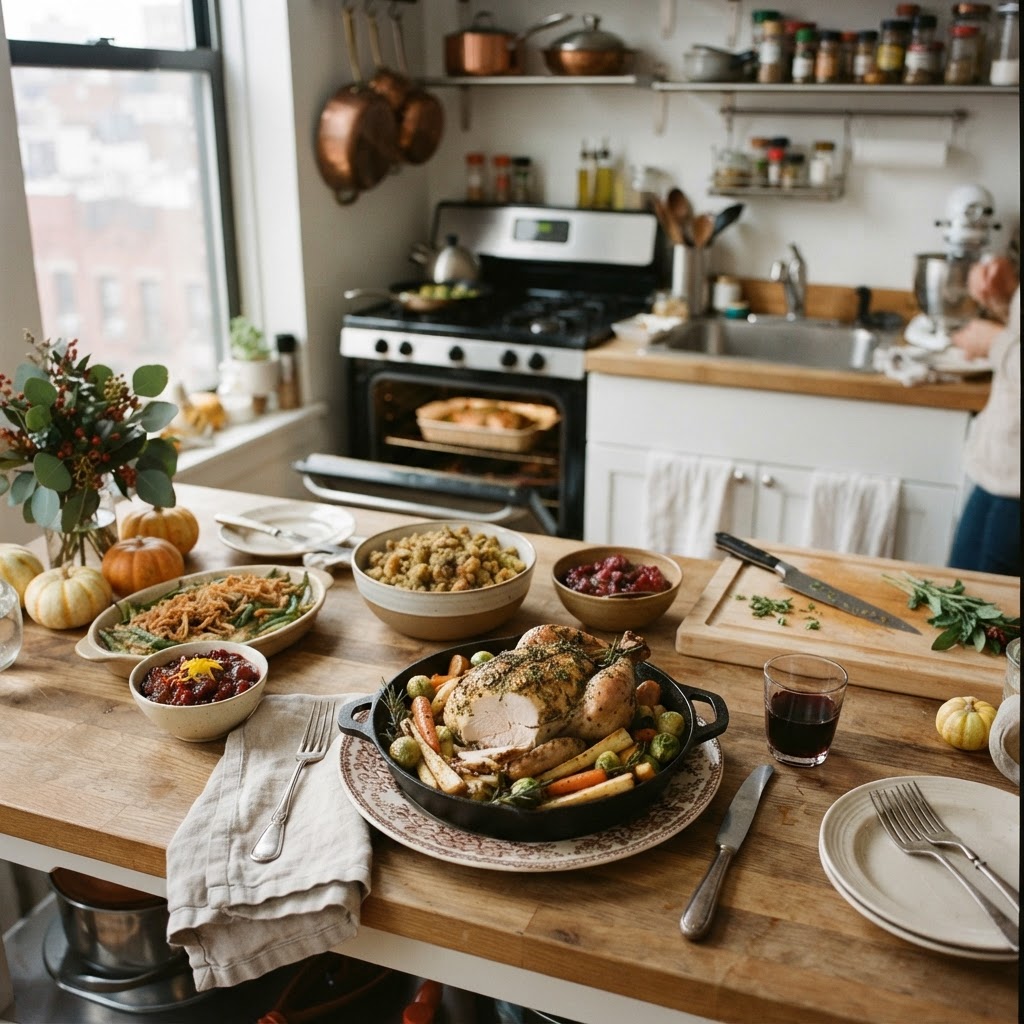
Quick reference
- Cook ahead: Gravy, cranberry sauce, dessert Chill and reheat gently
- Share oven time: Main dish, rolls, vegetables Schedule by temperature
- Use stovetop: Mashed potatoes, greens Hold covered on low
- Serve cold or room temp: Salad, relish, cheese Frees oven and burners
Build the menu around bottlenecks
For a small-kitchen Friendsgiving, choose one centerpiece that truly needs the oven, then fill out the meal with stovetop, no-cook, and make-ahead dishes. A turkey breast, roast chicken, glazed ham, or vegetarian centerpiece is easier to schedule than several large baked dishes. Limit the menu to one casserole and one pan of rolls if oven space is tight. Add a crisp salad, relish, and dessert that can be served cold or at room temperature.
- Pick dishes with different cooking methods.
- Avoid multiple recipes needing the same pan.
- Count refrigerator shelves before accepting chilled dishes.
Resolve equipment conflicts before cooking day
Make a simple equipment map: note the oven racks, burner space, roasting pan, sheet pans, slow cooker, and serving dishes available. Ask guests to bring food in its serving container, plus a trivet or utensil if needed. Give each contributor a specific assignment rather than requesting a general side; this prevents five dishes from arriving that all need reheating.
- Assign oven dishes exact reheating windows.
- Reserve one burner for gravy or potatoes.
- Use insulated carriers for food traveling across town.
Make the dishes that improve with time
Prepare cranberry sauce, gravy, dressing components, dessert, compound butter, and sturdy vegetable sides one or two days ahead when the recipe allows. Wash and cut salad ingredients, but keep dressing separate. Mashed potatoes can be made ahead and reheated gently with added butter or dairy; keep them covered so they do not form a dry skin. Reheat leftovers to 165°F / 74°C, and refrigerate perishable cooked food within two hours.
- Label containers with reheating instructions.
- Keep sauces in small containers for faster chilling.
- Finish delicate herbs, greens, and crunchy toppings at serving.
Create a cooking and serving sequence
Work backward from the meal time. Cook the centerpiece first if it needs resting, then use the open oven for casseroles and rolls. While the oven is occupied, finish stovetop sides and set out cold dishes. Serve in waves if necessary: appetizers and salad first, the hot meal second, and dessert after the kitchen has been cleared. A buffet on a separate table keeps guests away from the limited prep counter.
- Write down oven temperature and timing for every dish.
- Keep a clean pan available for the final bake.
- Reserve the last 10 minutes for carving and plating.
Choose food that tolerates holding
The best small-kitchen menu is forgiving. Braised vegetables, gravy, dressing, mashed potatoes, baked pasta, and glazed ham hold well when covered and kept warm; check each recipe for its preferred method. Roast poultry is best carved after resting rather than left in a hot oven, which can dry it. Serve salad, sliced fruit, pickles, and cheese at room temperature to protect oven and refrigerator space.
- Add crisp toppings just before serving.
- Use shallow containers for quicker, more even reheating.
- Keep hot food covered and avoid repeatedly opening the oven.