How to Freeze Apple Pie Before Baking
Freeze an assembled apple pie uncovered, wrap it well, and bake it straight from frozen with extra time for a crisp, fully cooked crust.
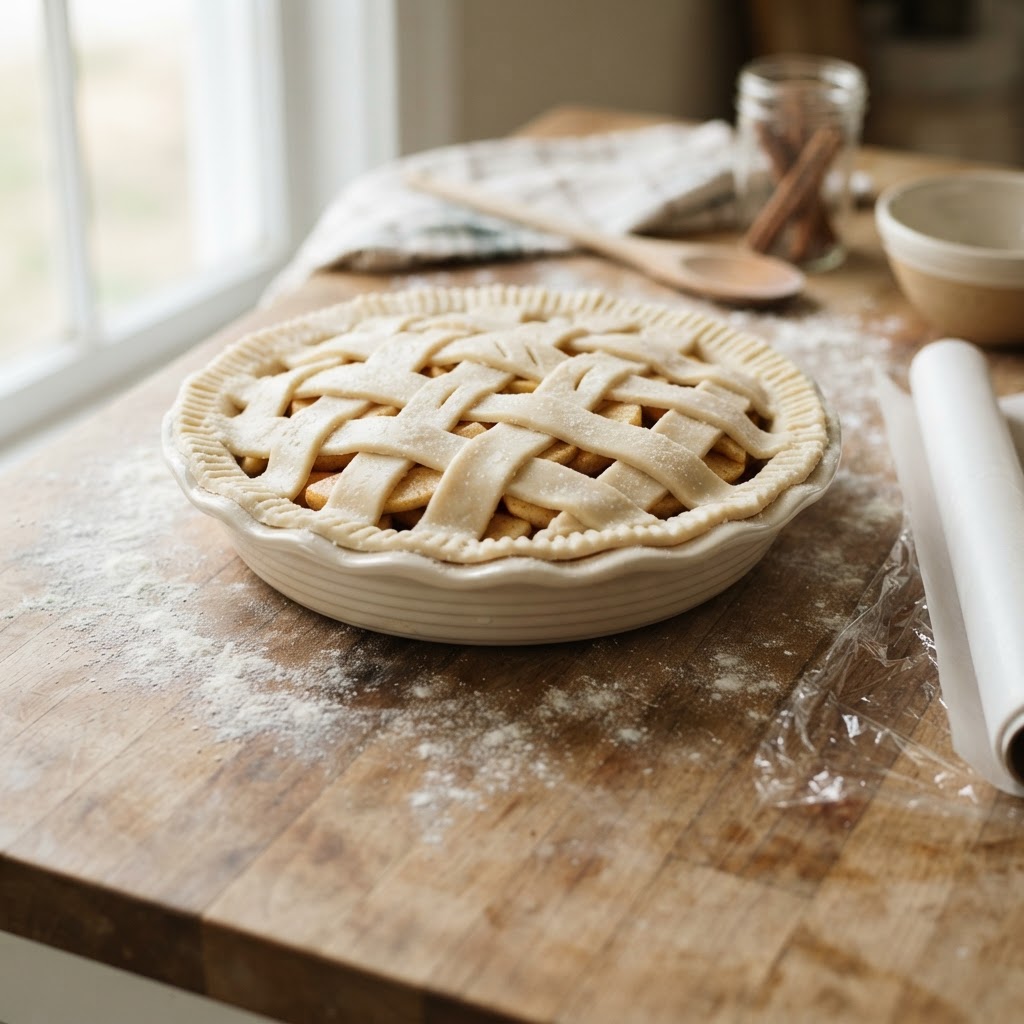
Quick reference
- Initial freeze: Uncovered Until firm, about 2–4 hours
- Wrapped storage: Up to 3 months Best texture within this window
- Baking method: From frozen Do not thaw on the counter
- Extra baking time: About 20–40 minutes Varies with pie size and filling
Assemble the pie for freezing
Prepare the apple filling and assemble the pie completely in a freezer-safe metal or ceramic pie plate. A disposable aluminum plate is also practical. Fill the bottom crust, add the top crust, seal and crimp the edge, then cut several vents in the top. Brush with egg wash or milk only if your recipe recommends it; sugar can be added before baking or just before it goes into the oven.
- Use a sturdy plate that can move from freezer to oven if labeled for both.
- Leave the filling and crust cold while assembling.
- Set the pie on a flat tray for easier handling.
Freeze uncovered, then wrap
Place the assembled pie, uncovered, on a level freezer shelf. Freeze until the crust and filling are firm, usually 2 to 4 hours. Freezing uncovered first keeps the wrapping from pressing into the pastry and helps preserve the pie’s shape. Once solid, wrap the entire pie tightly in plastic wrap, followed by foil or a freezer bag. Label it with the date and baking instructions.
- Keep the pie level to prevent filling from shifting.
- Press out excess air before sealing.
- For best quality, bake within about 3 months.
Protect the crust edge
The rim of the crust can brown before the frozen center finishes baking. Prepare a foil shield by folding a wide strip around the outer edge, or use a pie-crust shield. Keep it ready rather than covering the pie from the start, since the crust needs initial exposure to brown and crisp. If the edge darkens early, add the shield during baking and leave the center uncovered.
- Shield only the rim, not the vents or whole top.
- Check the edge after the first 25–30 minutes.
- Use parchment beneath the pie if overflow is likely.
Bake the pie straight from frozen
When ready to bake, remove all plastic wrap and foil. Do not thaw the pie on the counter; the pastry can soften while the filling remains cold. Put the frozen pie on a baking sheet and bake according to your recipe, adding roughly 20 to 40 minutes to the usual time. Because ovens, pie plates, crust thickness, and filling moisture vary, use visual cues rather than time alone.
- Start at the recipe’s stated temperature unless it specifically gives frozen-pie directions.
- Add the edge shield once the rim is golden.
- If the top browns too quickly, tent it loosely with foil.
Know when it is done
The pie is ready when the crust is deeply golden and you can see the filling bubbling through the vents, including near the center. If the crust is browned but the filling is not bubbling, continue baking with the top and edge loosely protected. Let the finished pie cool on a rack before slicing; the filling thickens as it rests and will be easier to serve cleanly.
- Cool at least 2 hours for neater slices.
- Store leftovers covered after cooling.
- Do not refreeze a baked pie that has been left at room temperature for an extended period.